Anchors Aweigh : Building

Pages

Showing posts with label Building. Show all posts

Building The Guest Bed: Parker's Perspective

If you have read this blog long or know us personally, you know Parker is really into woodworking. He has built almost every piece of furniture in our home, and he absolutely loves it. I love it too, obviously! I blogged about our new guest room earlier this month, and Parker decided to write about the inspiration and work that went into the guest bed. Take it away, husband!
.......................

Intro
For sometime now I have been looking forward to building a guest suite. For whatever reason, be it space in our house, space in our new house, or .... flight school, I haven't gotten to create anything. Lucky for me, between assignments here in Norfolk I found a little time to build a guest bed.

Inspiration

I originally imagined a sleek bed design, similar to something you might see in a hotel. Simple lines, low profile, and a dark stain. After browsing around a little on the pottery barn website, I found something a little different. To be precise, two things a little different.

img49c.jpg
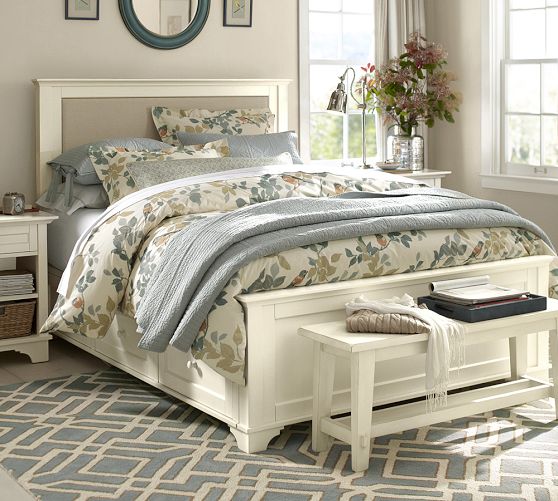
Upholstered Headboard

img77c.jpg
Crownmolding Headboard

The Build
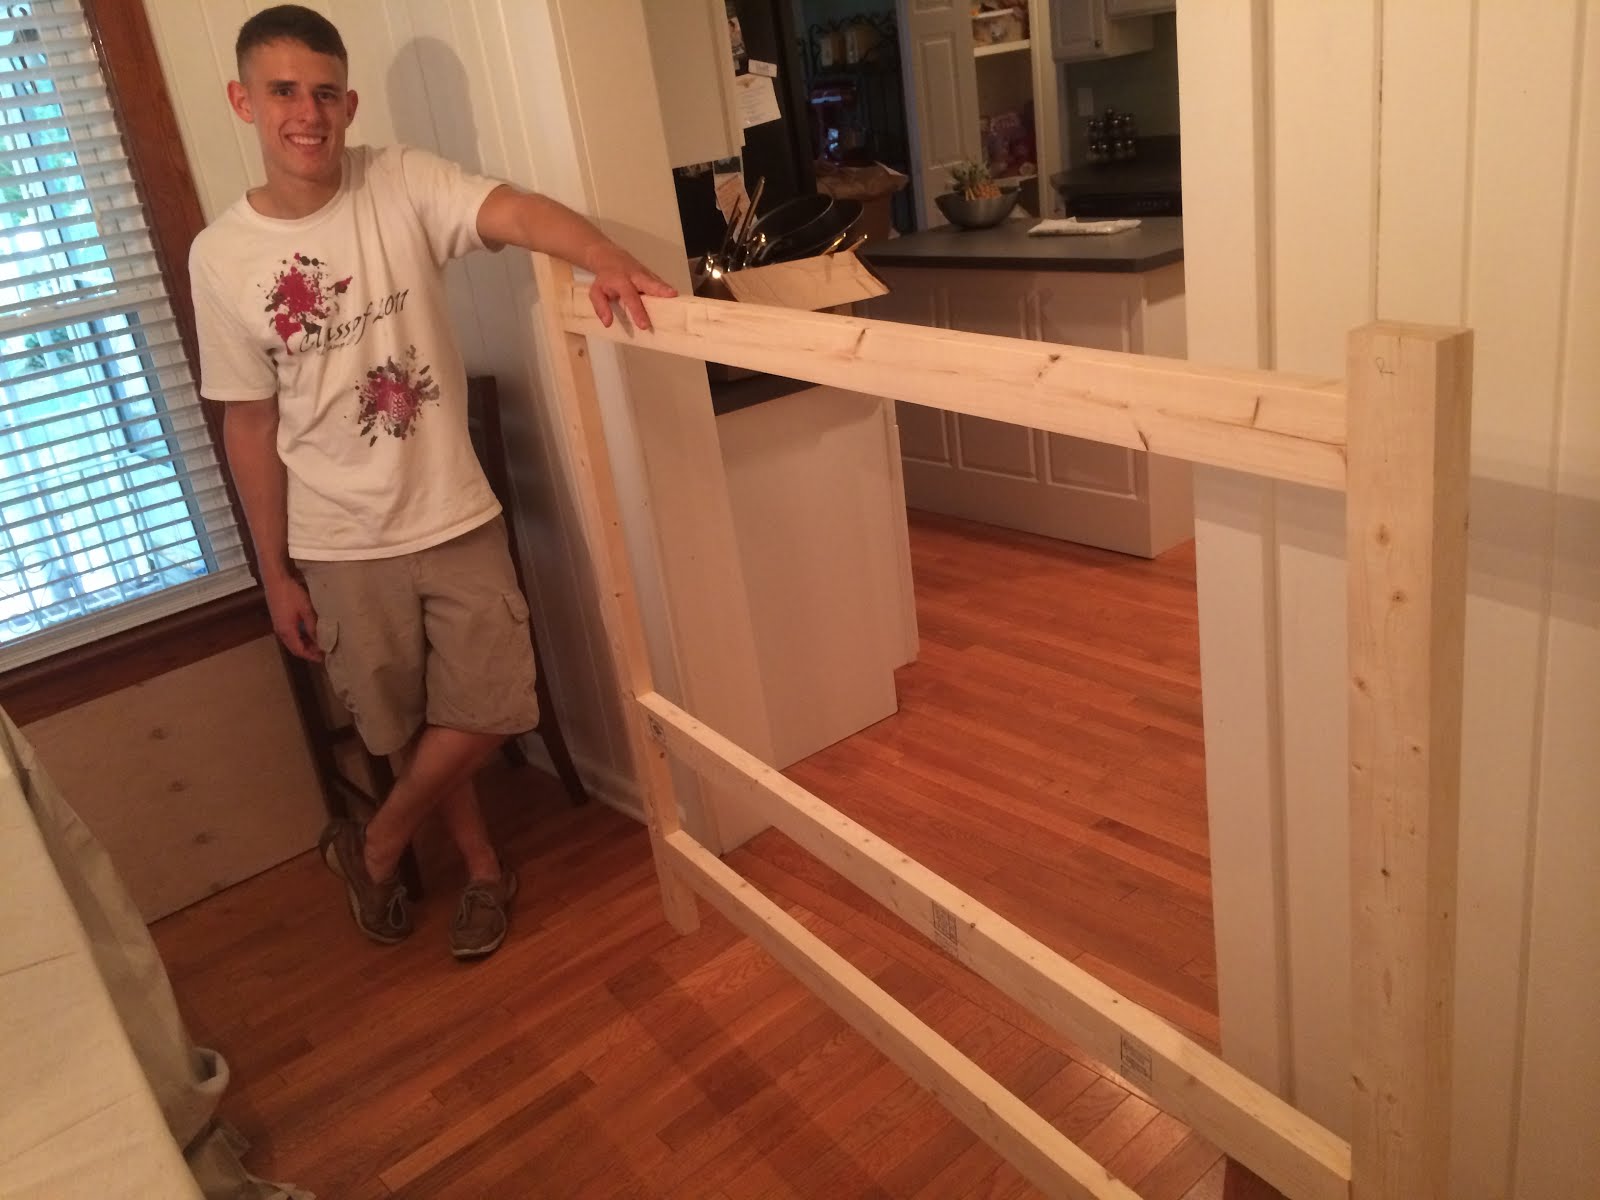
Sometimes a picture is worth a thousand words. I could tell you all about what I did, but at the end of the day, it is more fun just to look at pictures!


Photo Jul 14, 6 18 21 PM.jpg

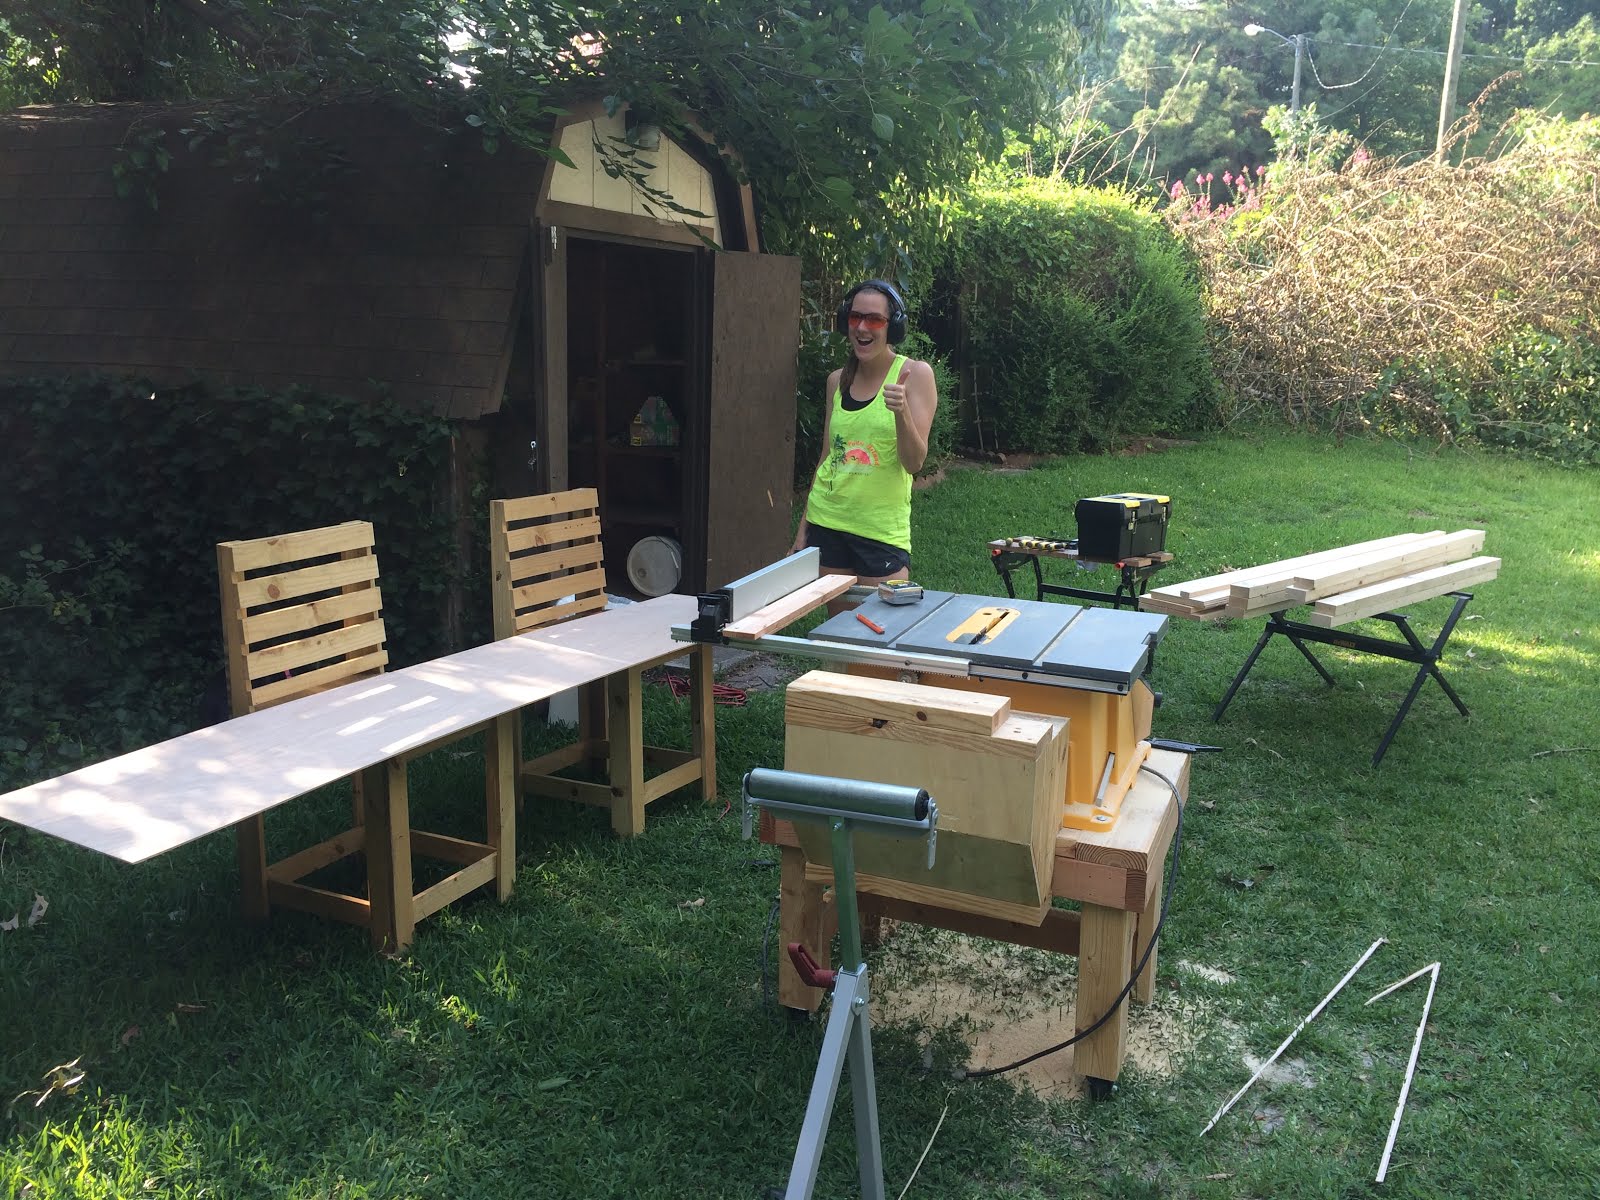
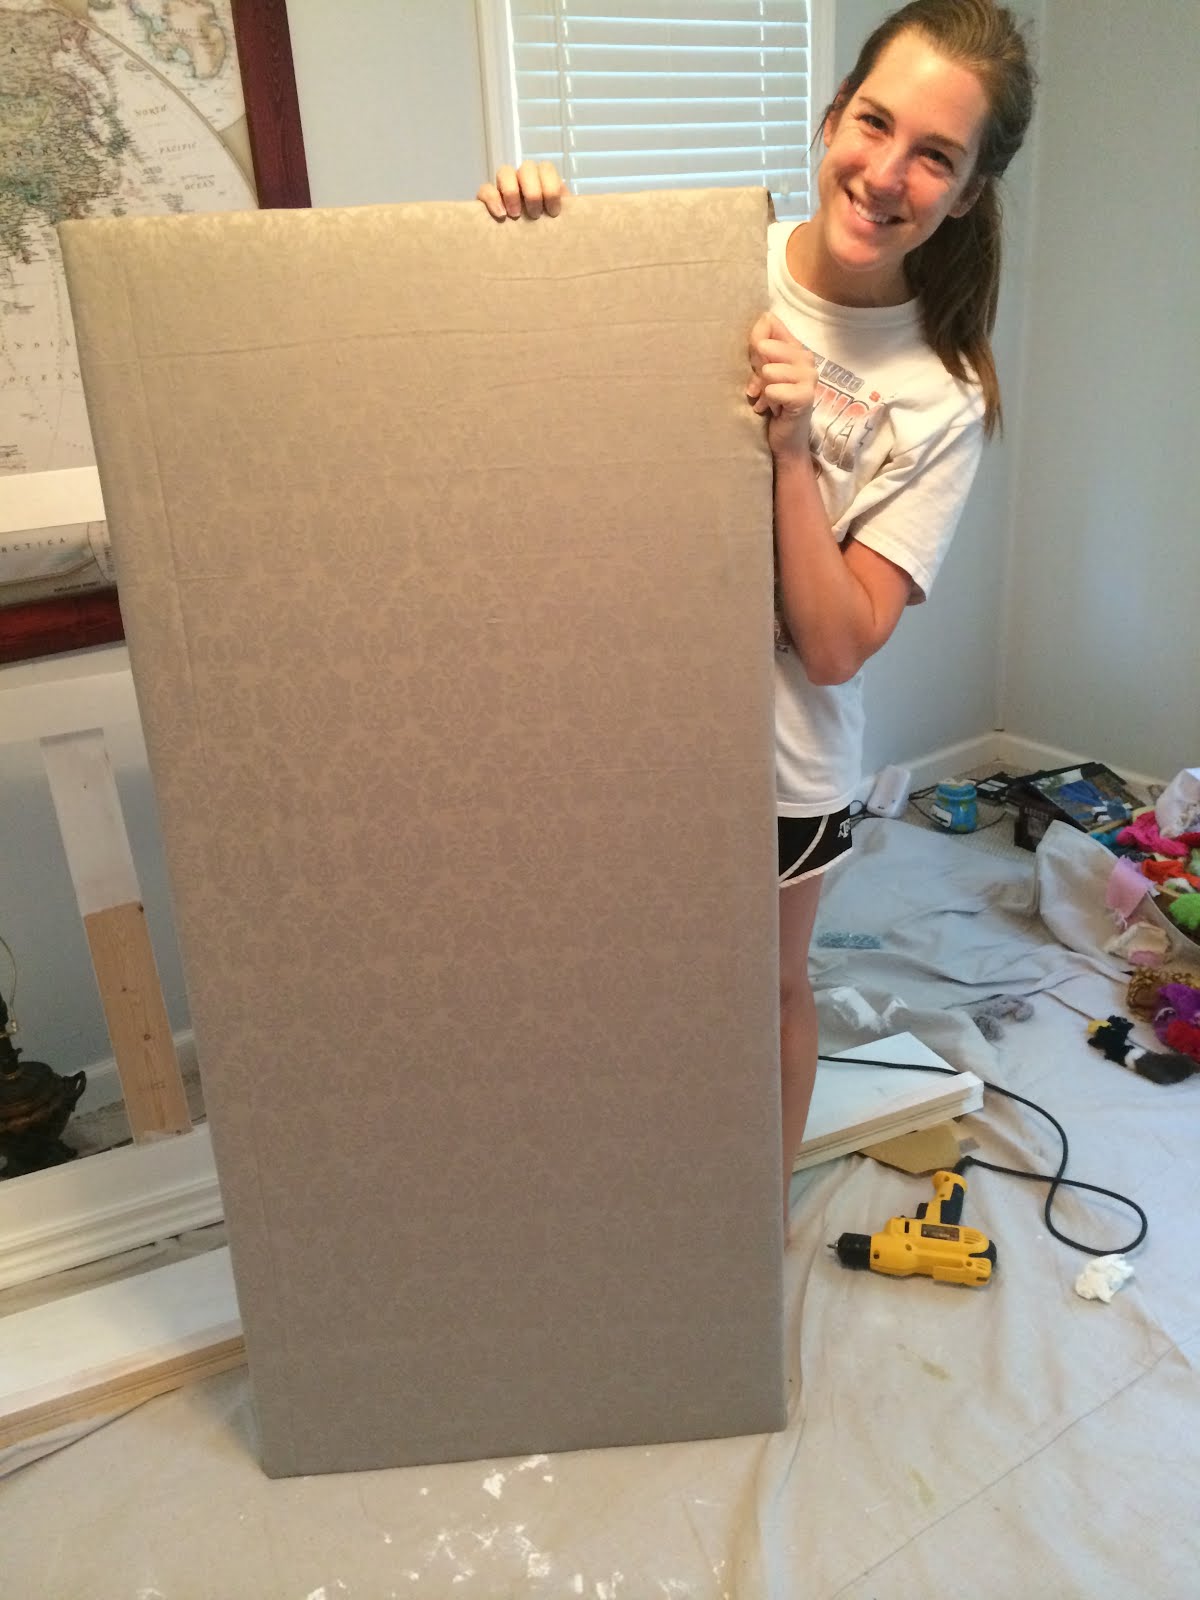
Some of you may know that we recently moved to Virginia. One of the difficult parts about working at our new home is that there is no “shop” aka garage. Lucky for me, the weather cooperated and my gorgeous assistant was always there to help!

Photo Jul 14, 10 41 13 PM.jpg

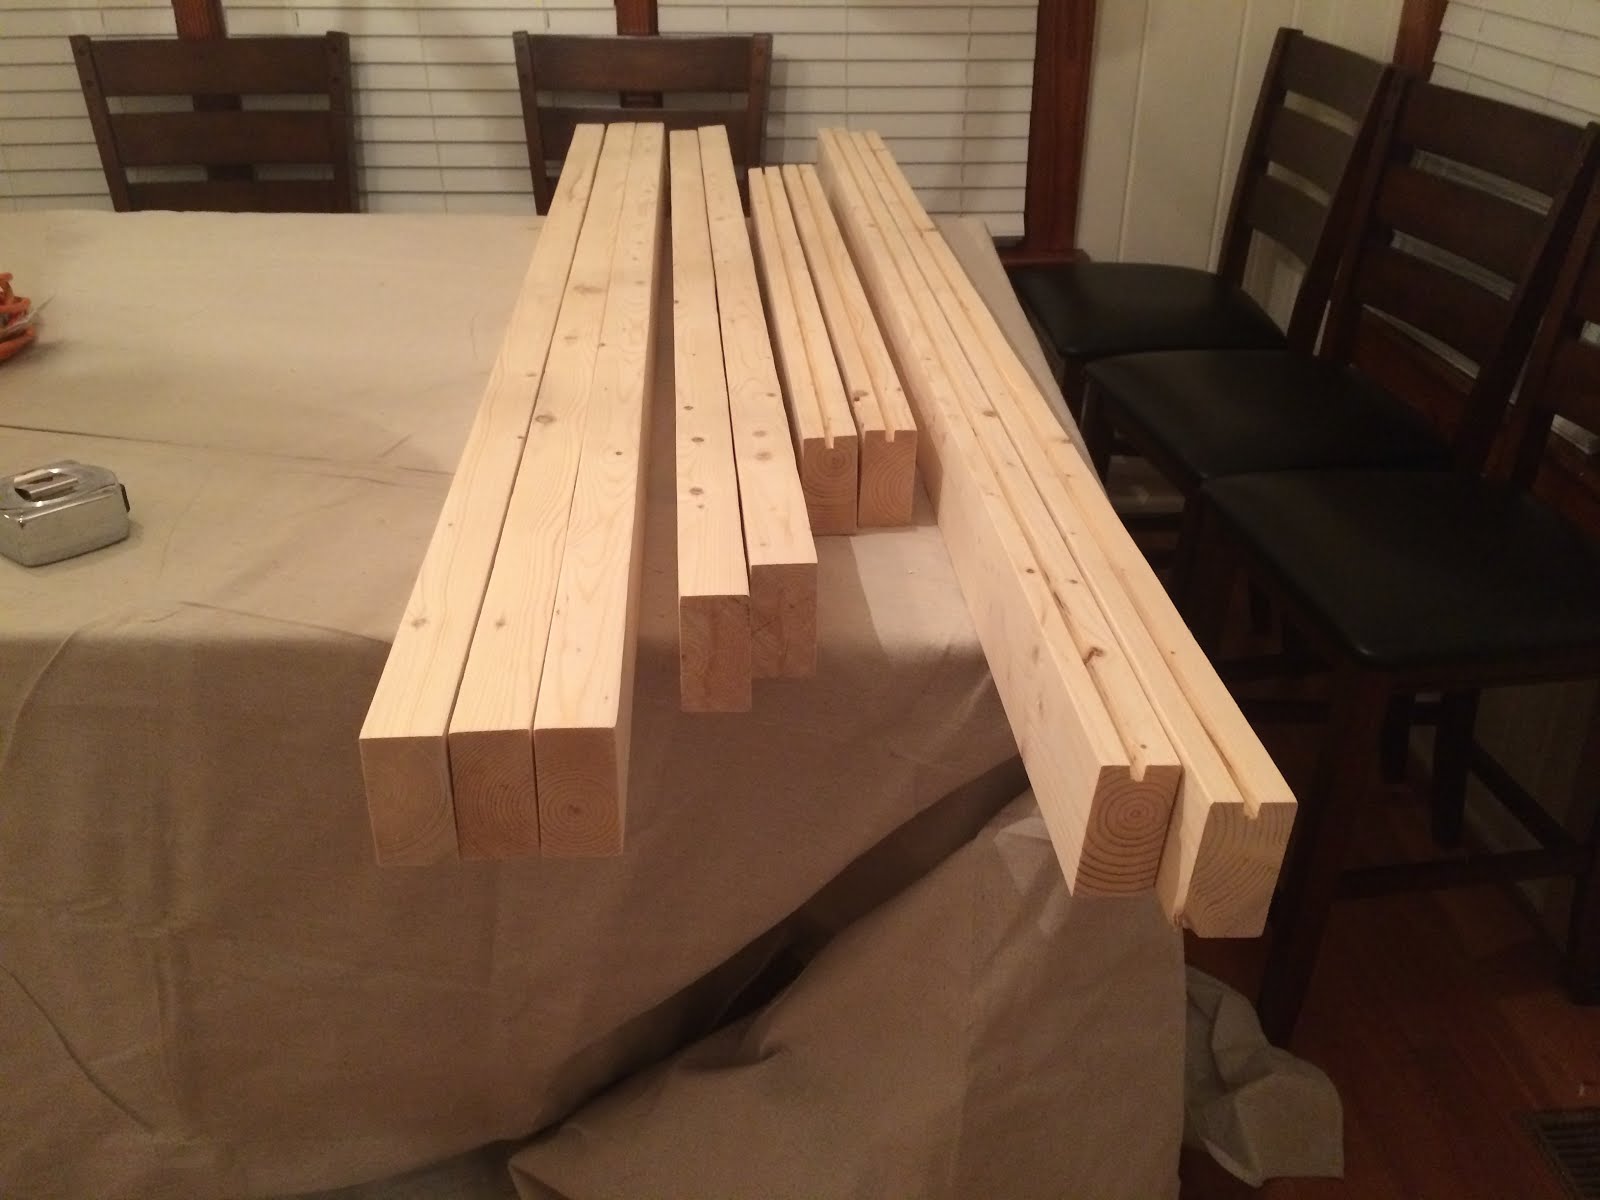
There are two ways to do most things in life: the right way and the cheap way. What ended up being the most challenging part of the bed making experience was using 2x4s instead of glued 1x4s. Although inexpensive (The bed frame itself only cost like $24), the wood was hard to work with because it was not perfectly square. Not a problem on the last bed I made with 2x4’s because my grandfather has both a joiner and a planer. Definitely a problem for this project! You can kind of see it in the picture of the bed frame above

bracket image.pngPhoto Jul 15, 4 14 32 PM.jpg

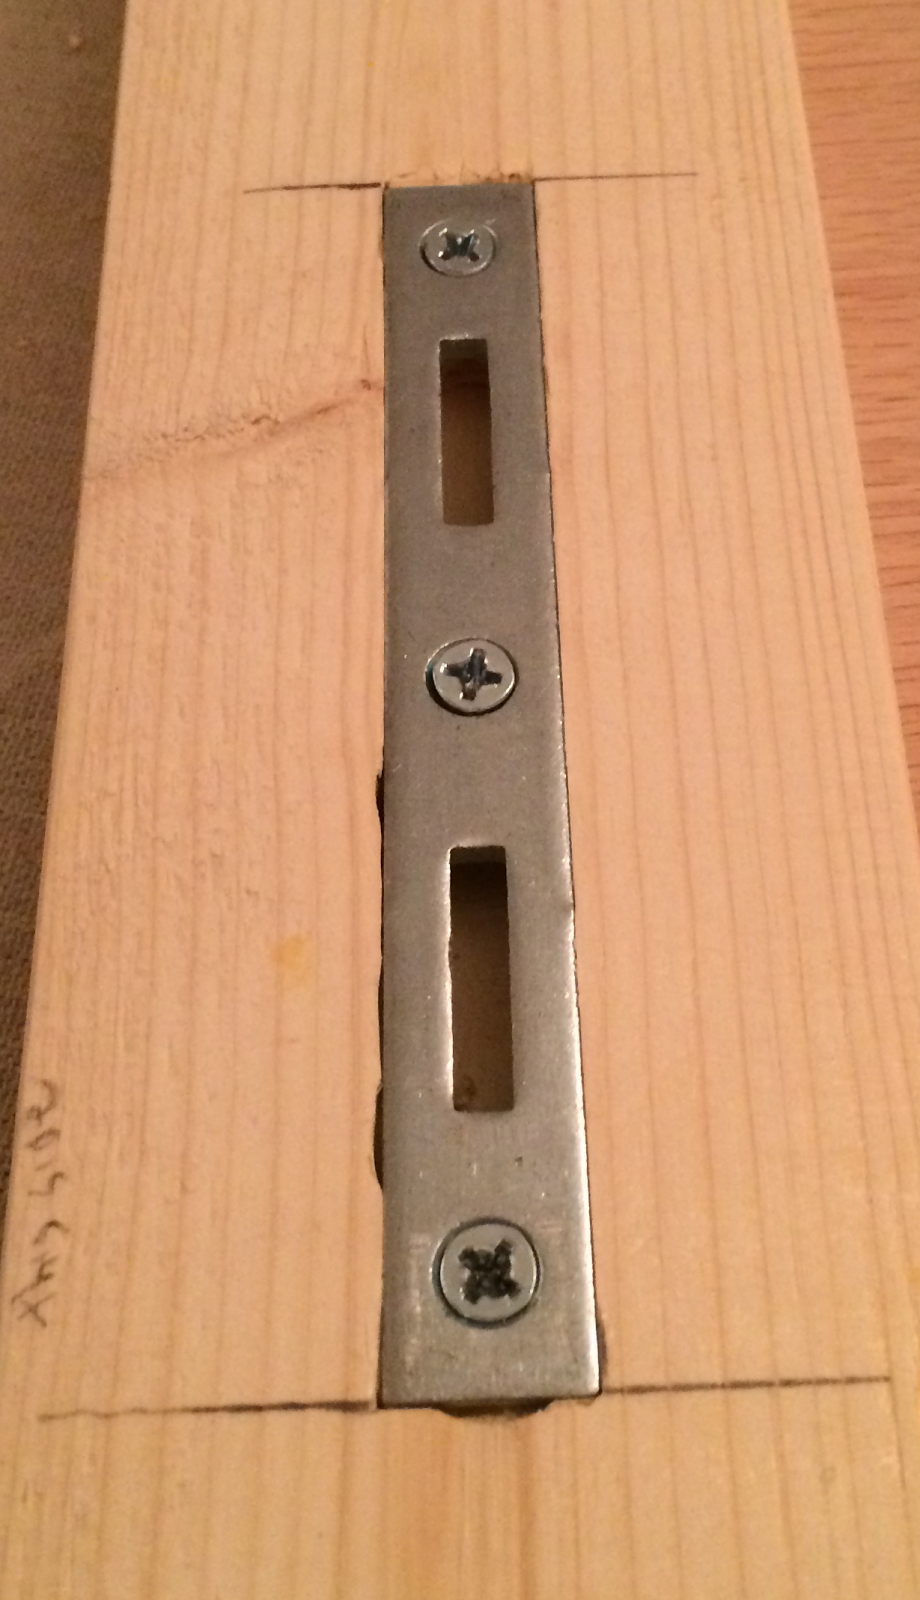
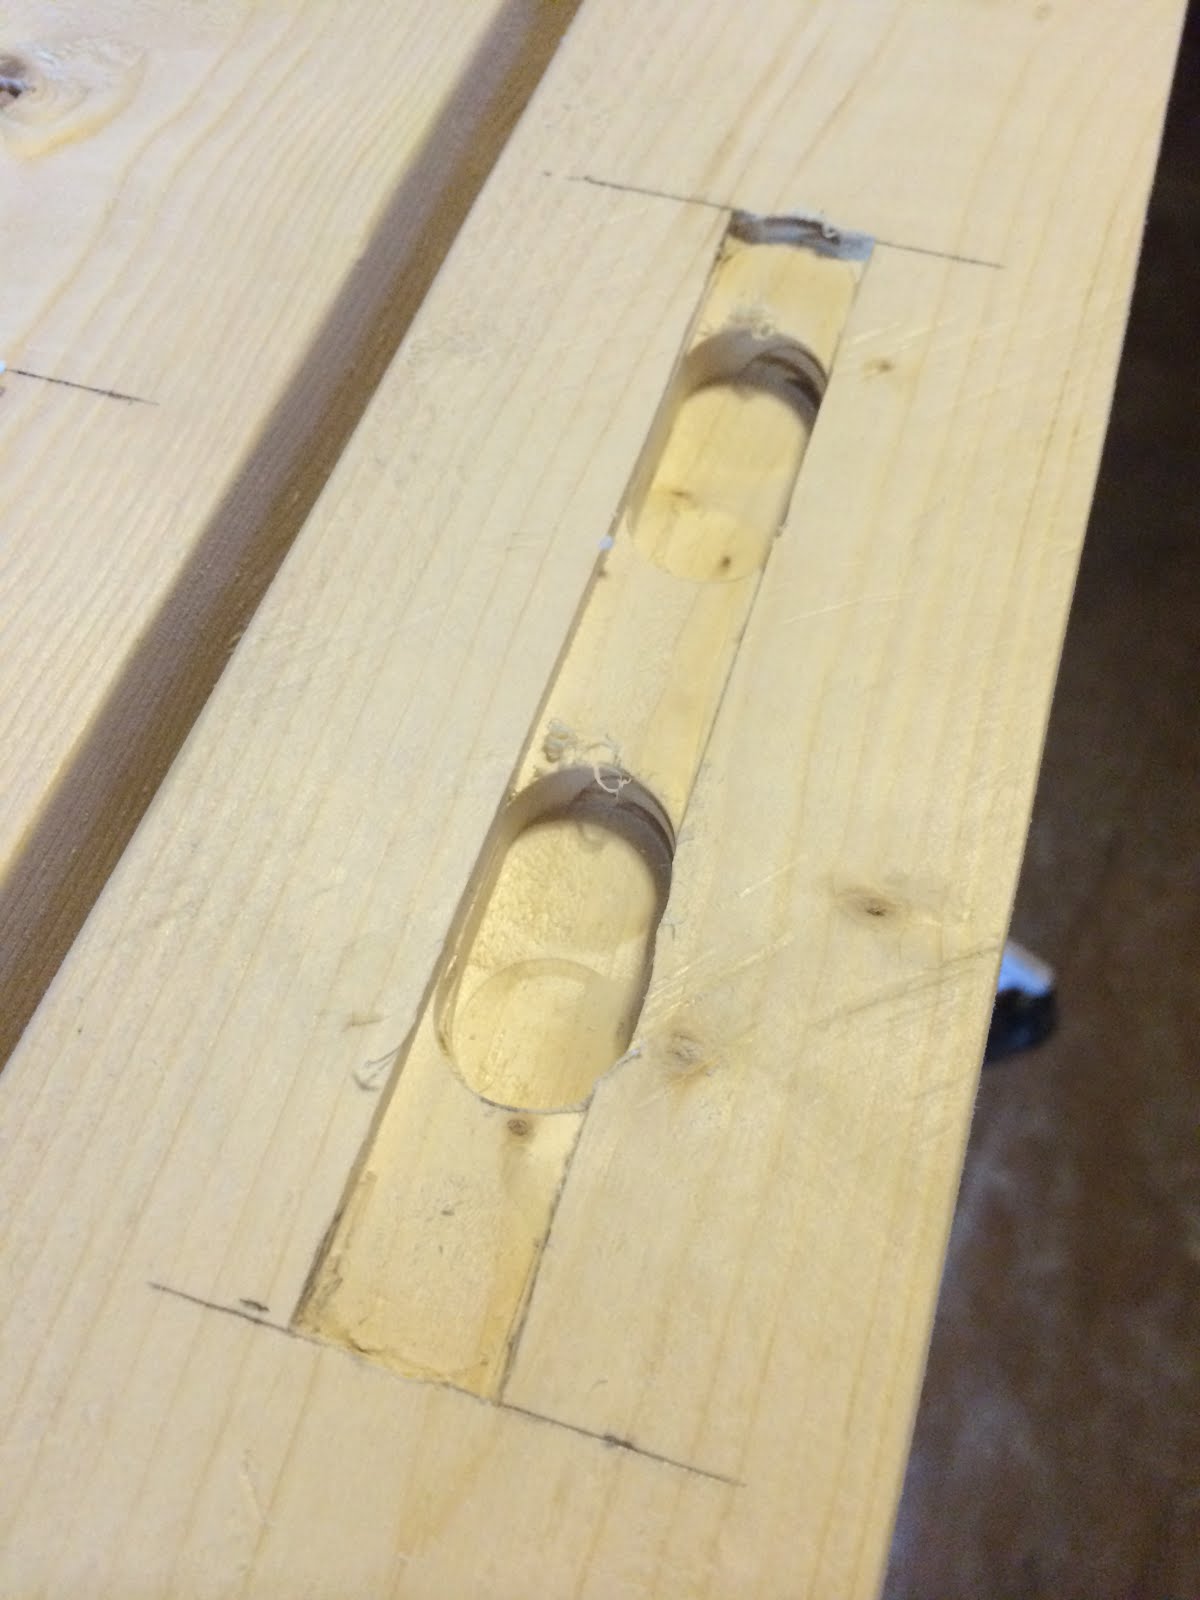
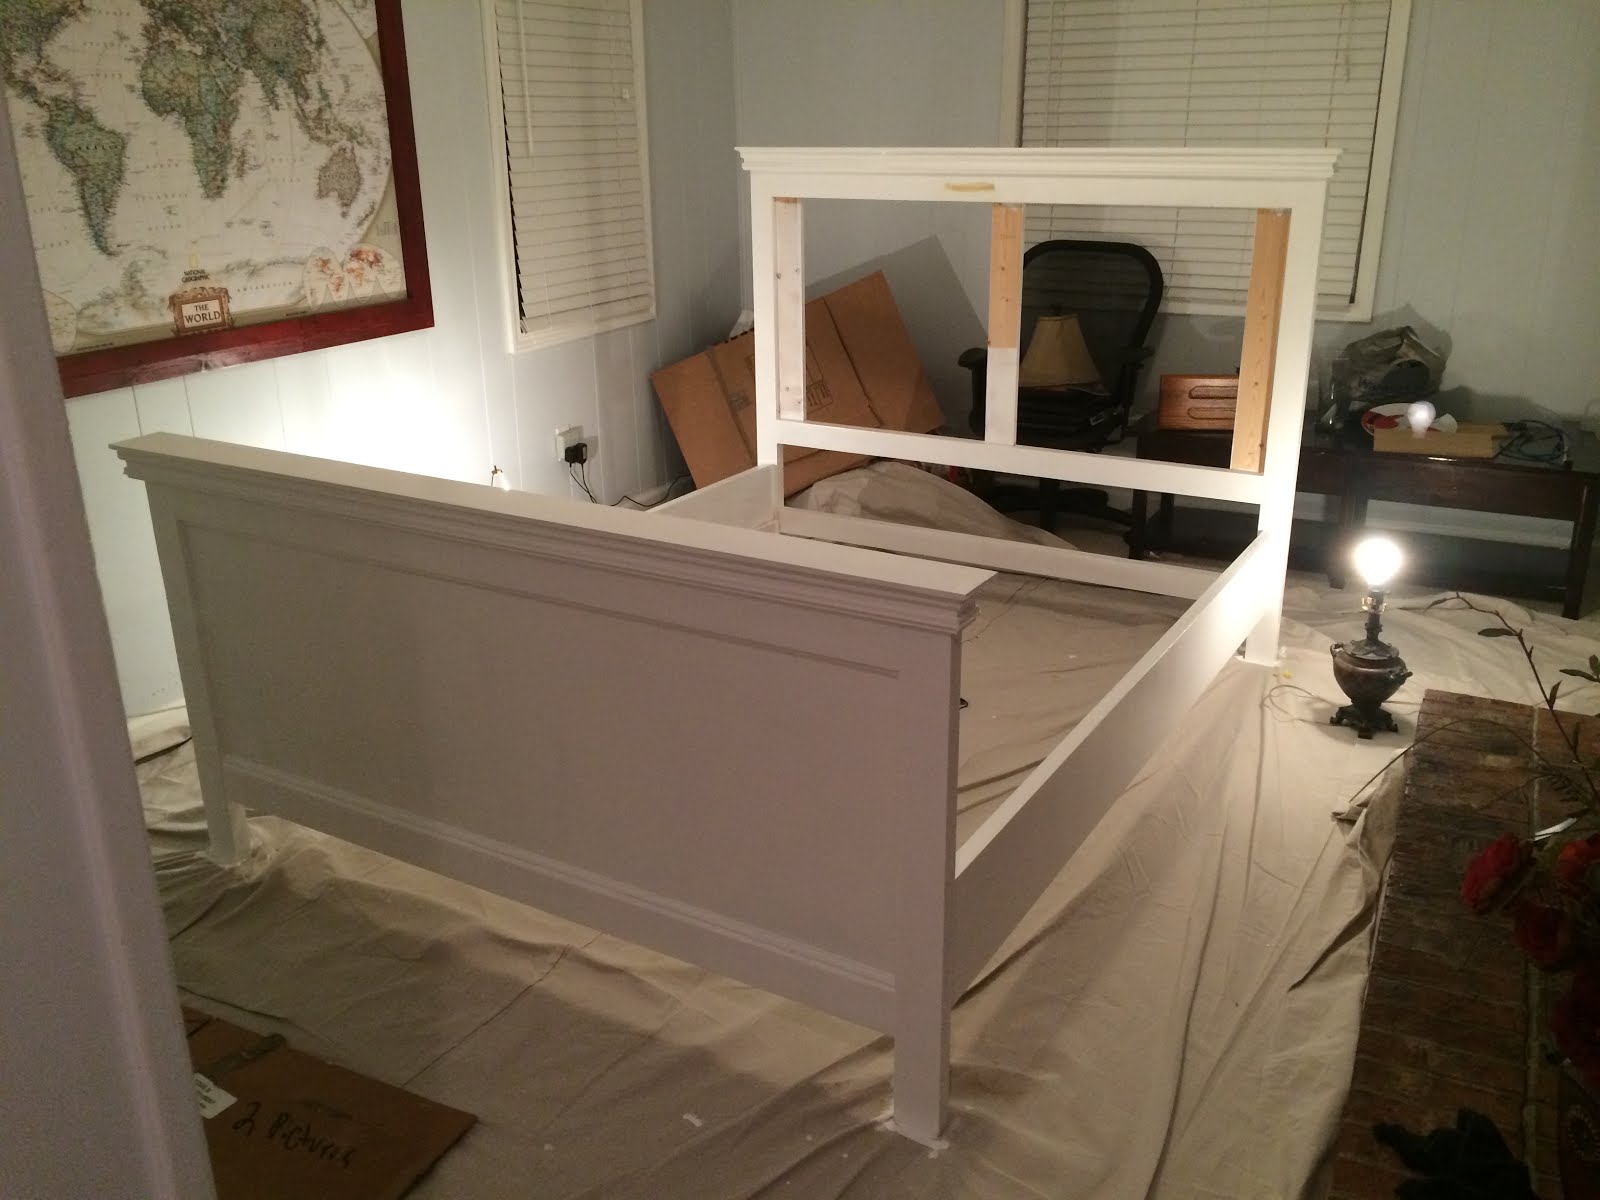
Proud carpentry moment: I used my router and a chisel to make an inset for the bed hardware. Although Slightly sloppy, it ended up looking good with just a little putty and some paint!

Photo Jul 15, 5 34 02 PM.jpg

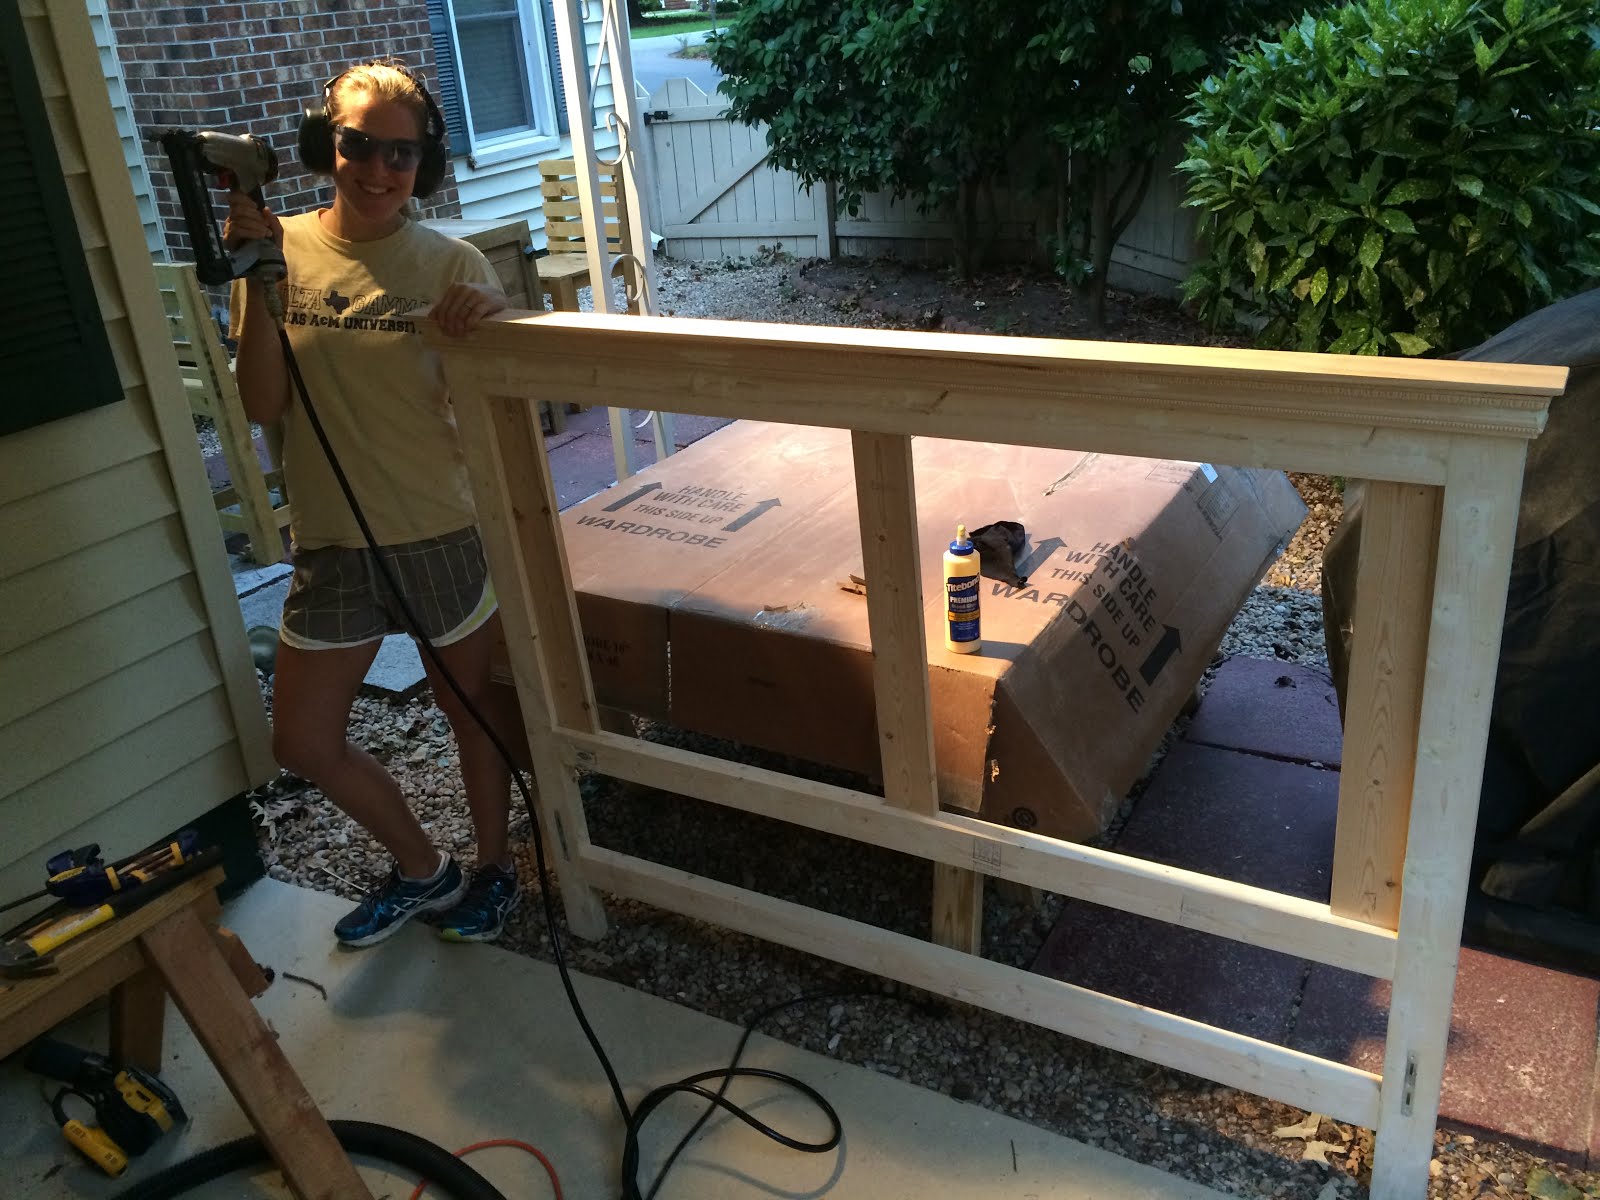
Assembling the frame was a cinch with Kreg screws

Photo Jul 21, 7 44 36 PM.jpg

And adding trim and the topper was a cinch with my little helper!

Photo Jul 23, 11 26 48 AM (1).jpg

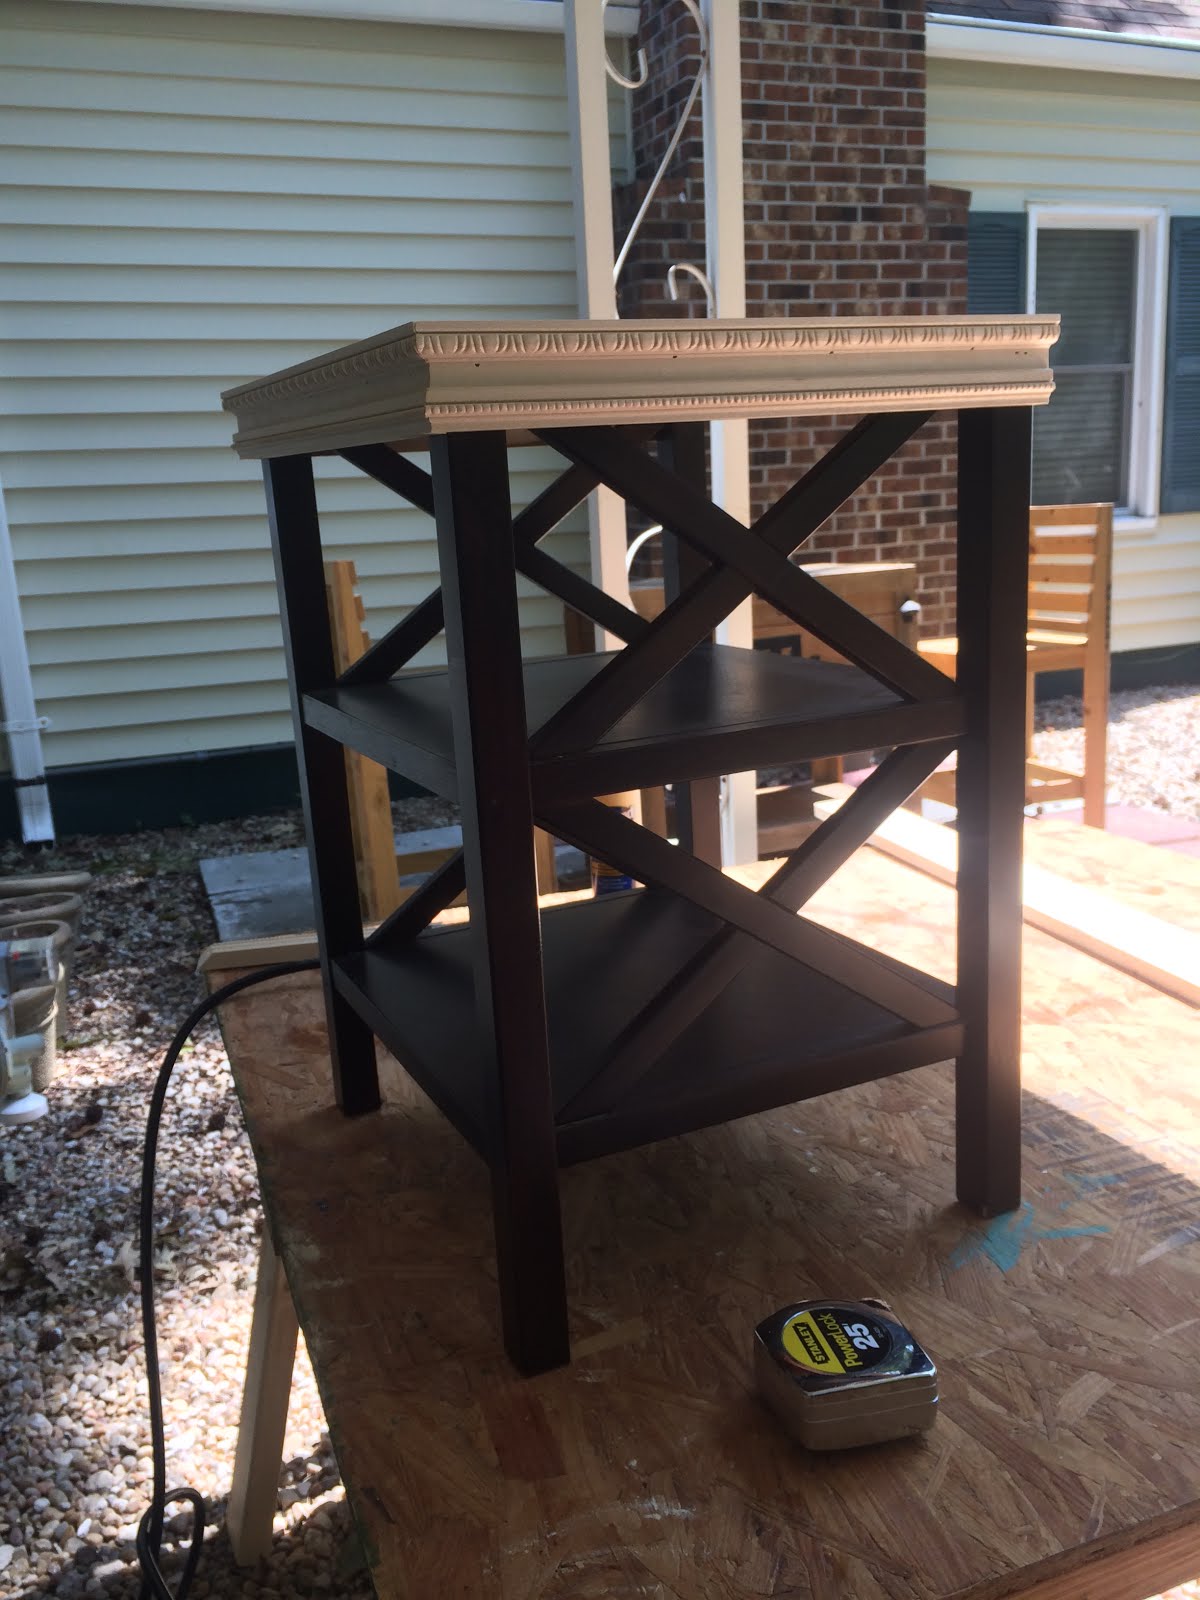
We also tacked some trim onto an old side table to serve as a nightstand. For the record: this is just a placeholder till a future date. It can be very fun thinking of ways to reuse things you already have.

Photo Jul 22, 8 52 22 PM.jpg

One part of the project that I always seem to forget about is the finishing part. No matter how cool a project is, it is not finished until you add some combination of stain/paint/poly. And of course, this always seems to take way longer than actually building the thing. If I could make one part of woodworking disappear with my mind, it would be this part.

Photo Jul 25, 5 53 25 PM.jpg

The last part of the project was figuring out how to upholster the head board. Not pictured: the janky back with a mismatching pattern of staples, bunting and fabric

The final product!

Final Thoughts
Hopefully you have had fun seeing a (little) bit of the process of building a bed. Chelsea and I had a lot of fun making it and look forward to having family and friends in town to enjoy it.

And for the numbers people out there:
Total Days: 7
Build Days: 3
Finishing Days: “4”
Kreg screws: 18
Paint used: ½ gallon (this includes chelseas desk and the nightstand)
Approximate Cost: $350 (sans mattress)

PS As a little sales pitch, not only is carpentry productive, but it is economical and entertaining. Chelsea has had a few people contact her privately and express interest in a blog series about getting into woodworking as a hobby. Where to start, what to buy, and how to get those creative woodworking juices flowing. Let us know in the comments below if that is something you would be interested in.

Guest Room Unveiled

Parker and I have always wanted to have a guest room. In 5 homes, this is the first where it has been possible. He could have built guest furniture in Kingsville, but my parents were the only ones who came to visit us, so we waited on the guest suite until we got to Norfolk. Thank goodness we did, because there would have been zero room for that in Corpus Christi. Naturally, the first thing Parker did once his tools arrived to Norfolk was build a guest bed!

We looked online and decided on a design and style we liked, and he went right to work. Three days later, the bed was a bed! He did something different with it that we really love. The middle of the headboard is actually upholstered with fabric that we picked out. It's so unique and different, and we are basically just obsessed with this room. We will have our first visitors in 2 short weeks, and their room is ready!

We knew we wanted to go with whites, greys, and yellows, and I am pleased with the pieces we chose. The room is painted blue, so we decided to stay away from blue/green hues so we wouldn't have to worry about clashing. Neutrals with a pop of color in the bedding was the name of the game! So, without further ado, here it is...


We actually recycled an old, hand-me-down brown side table for the nightstand. Parker attached trim to the top to match the headboard and footboard, and we painted it white. Love the result and love that it didn't cost anything! The lamp was recycled as well, and I talked about that last week when I talked about my new found obsession with spray paint.


Bed: custom (built by Parker)
Nightstand: Target (old), painted with trim added 
Bedding: Target
Lamp: Hobby Lobby (old)
Lamp Shade: Target
Rug: Home Goods
Upholstery Fabric: Walmart

post signature

The Turquoise Desk

I shared a little sneak peek of my new desk on Friday's post, and I'm excited to show you the finished product today! Yall, I am in love. Parker designed and built it, so I thought it would be only fitting for him to write the post. He halfheartedly agreed to do so ;). Disclaimer, despite his dry sense of humor that comes out towards the beginning of this post, he actually does love me. Well enough of that, here's Parker's story on my new favorite piece of furniture:
...................................

As many of you may know, Chelsea has been working from home for over a year. During this period, she has had the pleasure of using a desk purchased at Target that is approximately the size of a large cafeteria tray. It barely has enough room for her keyboard and monitor, much less a phone and mouse. Obviously I never hear the end of this.

Since I had a little free time between Primary and Intermediate flight training, I "volunteered" to make Chelsea a new desk. We started with very basic design requirements:
1.     Left hand drawers
2.     Large(r) surface
3.     No hutch
Since Kingsville only has one major home improvement store (Lowes), I bought all the supplies from there.
One disappointment from the Lowes in Kingsville was the quality of their cuts. Since my Audi A4 doesn't have much trunk space and my table saw can only do a 24'' cut, I am limited by what I can do at home. I thought the guys at Lowes could help by using their cutting station (this is a normal practice). There was a red flag when it took four guys to operate the cutting station when it should take just one. I decided to add a few inches to each cut so that they couldn't mess anything up too badly (usually cuts are not cut at the right size). But when I got home, I had a different problem: not one rip or cut they had performed was square. All cuts were done at a diagonal! There was a two inch difference between one side of the sheet of plywood and the other!

The pencil line represents a straight cut measured from the factory cut side of the sheet. This is where the saw should have cut the first time!

These poor cuts had two major impacts. First, I would have to shrink the initial design since the plywood was cut too small. Second, none of the plywood was cut square and my table saw was too small to fix the problem. Long story short: the plywood used in the project was not perfectly square and thus the entire project had issues.

The plywood box that holds the drawers. Since this was a little out of whack, the drawers all had sliding issues (originally) and there were noticeable gaps between it and the desk
Coming together

Finished with paint
 ...................................

I am super pleased with the way it came out. Parker is his own worst critic and doesn't realize how amazing he is at building furniture. I got pretty blessed in the husband department :). The color is something way out of my comfort zone, but I am so glad we chose it. It's called Turquoise Tint from Lowes. The new desk definitely makes work a little more fun!


LinkWithin

Related Posts Plugin for WordPress, Blogger...